Hey Friends!!
I’m so excited to be teaming up with Gina from The Shabby Creek Cottage & six other bloggers this week to bring you loads of Dollar Store decorating ideas for Christmas! I am one of two bloggers sharing their dollar store creations today! Karen, from The Graphics Fairy is also taking part in the series today, so when you are done here, you will want to be sure to hop on over to Karen’s blog to see her fabulous creation! Ummmkay?!
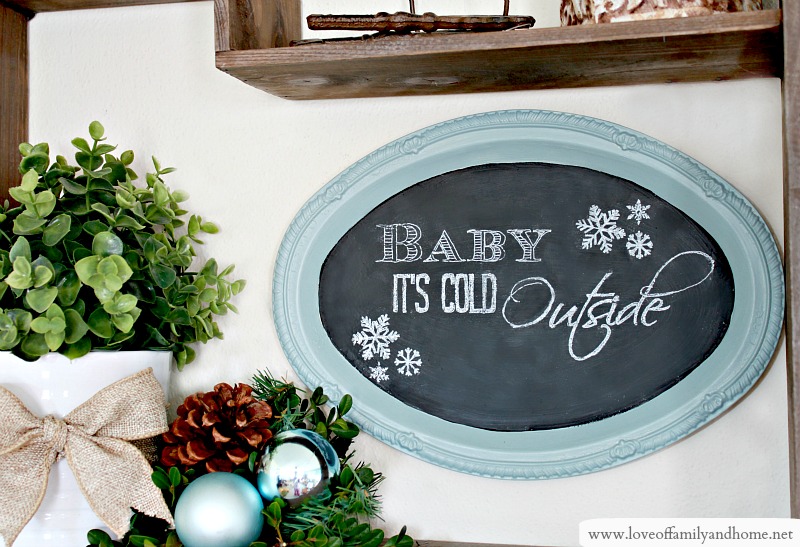

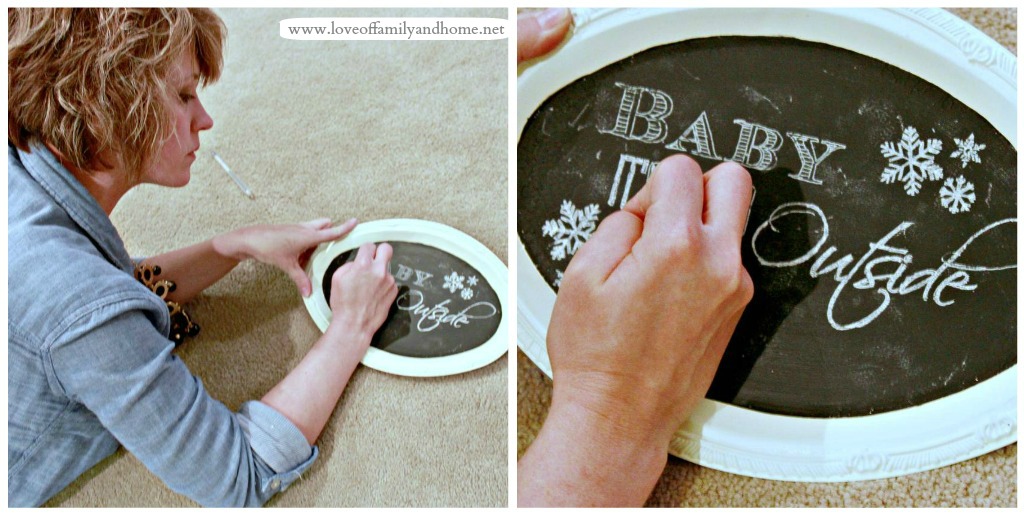
I have been so inspired with all of the chalk art popping up around blogland & Pinterest over the last few weeks, that I just had to get in on the action! What do you think of my dollar store tray turned chalkboard?!
I originally saw the idea to turn these dollar store trays into chalkboards on Pinterest. I loved the shape of them & thought they would be a great way to display a little chalk art in my home this Christmas! So, I went to our local Dollar Tree & snagged the oval one for my project!


I thought I would go ahead & share these graphics with all of you today just in case you wanted to replicate this little sign! Just right click on the image above, save it to your computer, and print! 🙂
To transfer the image onto the tray, I just used some tracing paper that I already had. This particular tracing paper was purchased at JoAnn Fabrics. It’s a multi-color pack, but I used the white tracing paper for this project.
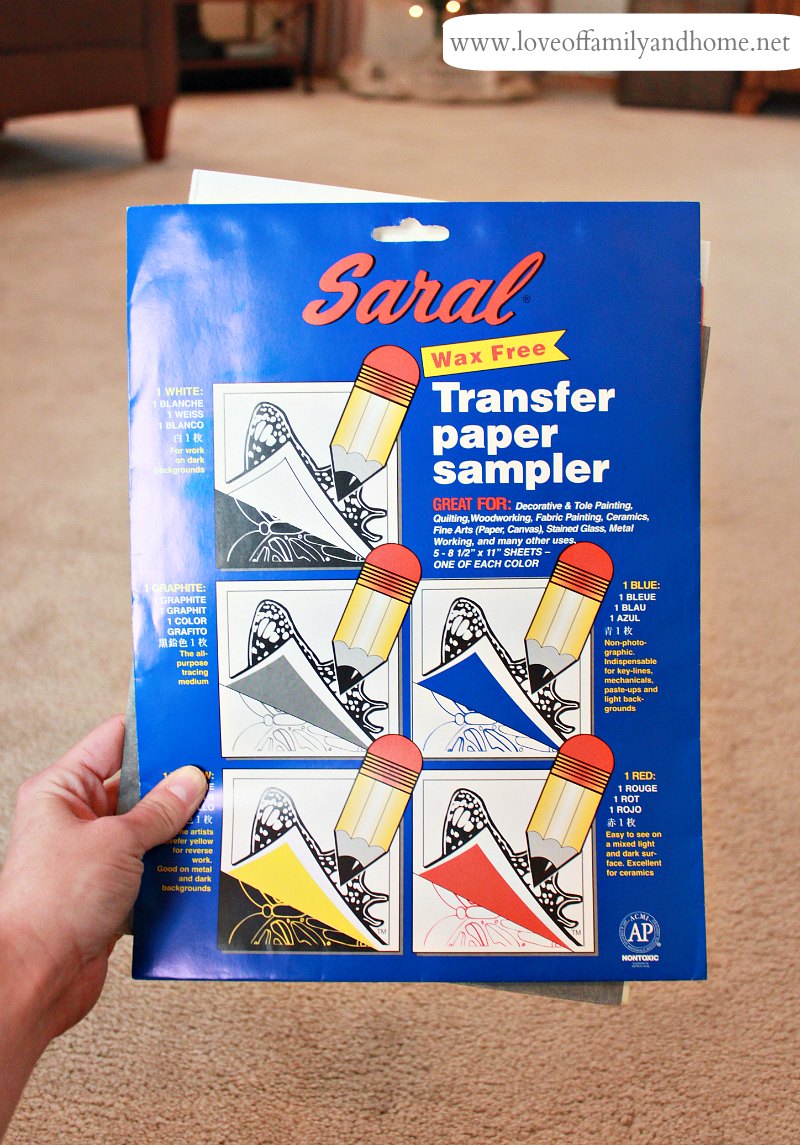
If you’ve never used tracing paper before, you basically just put the paper down on the surface you are transferring your image to, place your graphics on top & trace! Simple as that!!
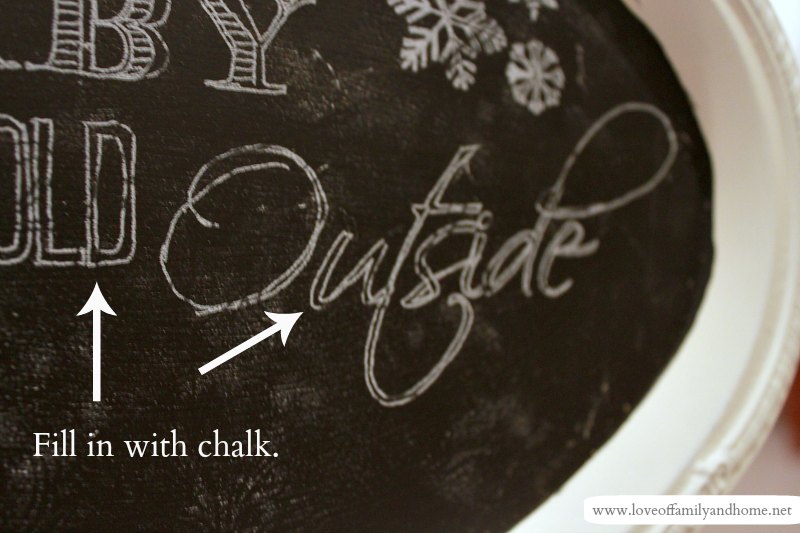
After all the tracing was done, this is what I was left with….

Because I used the white tracing paper, it already gave the look of chalk! Basically all I had to do was clean up the chalkboard a little bit & then go back & fill in the gaps/open spaces in the lettering.
I saw this little tip HERE.

To get a finer tip on your chalk & write prettier, just grab a pencil sharpener & sharpen away! This worked like a dream!! I’ll definitely be sharpening my chalk from here on out!! So much easier!
Filling in the letters….
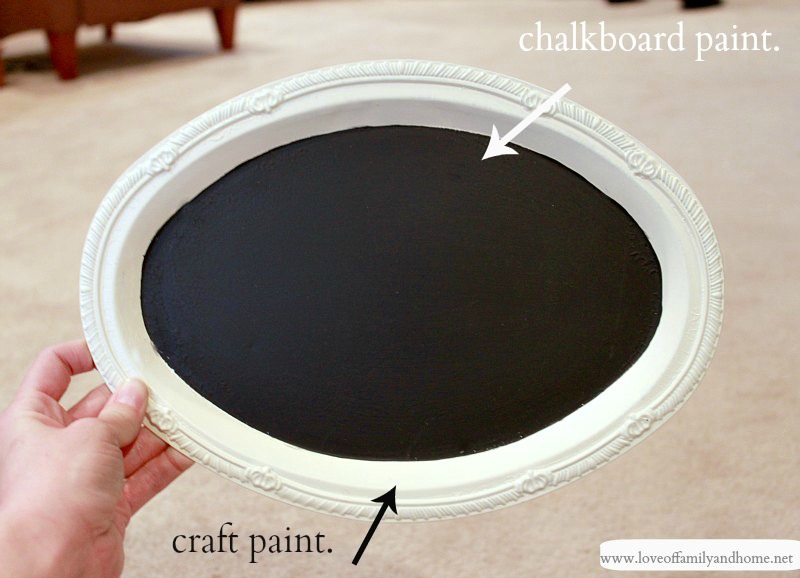
Like I said above, I did go back & re-paint the frame of the tray after all was said and done. I wasn’t sure where I was gonna display my chalk art when I was first starting this project. However, when I decided to hang it on my cream wall in the living room, I knew the cream frame wasn’t going to work. So, I grabbed some blue paint that I had in the garage & my small paintbrush and got to work re-painting the outer rim of the tray. The blue just looks so much better against my cream colored walls! Don’t you think?!


Well, what do you think?! Do you like my little chalkboard?
Have you made any chalk art this year?!
Have you made any dollar store crafts this Christmas?!
Tomorrow we will be wrapping this series up with a linky party!! That’s right…we want YOU to join in the fun!! So, make sure you come back & visit tomorrow and have those decorating ideas ready to link up! If you link up with just one of us, your post will be seen on all 8 blogs! Woo Hoo! It’s gonna be FUN!

Wanna start from the beginning and see all of the Dollar Store decorating ideas from this series?! Be sure to check out my friend, Lisa’s post from Monday! Grab a cup of coffee & enjoy clicking through all the links!


Yes, Tonya, I like it! It’s wonderful! I never would have thought one of those thin silver trays could look so good.
How did you create the graphic on PicMonkey? I know how to use the fonts, but only how to add them to a photo. Can you add them to blank space?
I think a trip to the Dollar Store is now on my to-do list for today! Love your step by step instructions!
Oh, yes! I definitely think the blue was the way to go!!! What an adorable project.
How adorable! Never would have thought of something like this… love how the tracing paper looks JUST like chalk on the board.
Well…can you saw awesome!!!! Those little tins dress up fabulously!!! I ADORE the writing…picture perfect in every way…I think I have one with Bon Appetit in my future! Thank you for the excellent project and presentation and of course the inspiration! It has been a pleasure linking up with you this week and I will see you tomorrow at the big linky party! Hugs..
Ahhh, adorable!! It turned out fabulous!
Love it! Very cute!
I’m inspired! I’m pinning this! Thanks so much!
Smiles,
Carol
Just wanted to know how you attached a hanger on the back to attach to the wall?
Hi Denise! I just used some sticky tack to adhere it to the wall!
Tonya, I’ve never used that tracing paper and now I know how to do that cute writing on my latest chalkboard project!! Awesome!
Love this! I am going to go buy out our dollar store! LOL These would make sweet little gifts for Christmas! :-)I might even make a set of 3 or something…maybe let my little draw something on one for the grandparents…oh the wheels are a turning!
I love this!
beautiful Tonya! Thanks for the tracing paper tip! perfect!
I love it! I’m always looking for new things to use chalkboard paint on because I love writing quotes and sayings on them! I’ll have to look at my Dollar Tree from the trays
This is adorable Tonya!! Nice job, it really looks great!!
It turned out so cute, Tonya! (Love the blue.)
Oh my goodness…I love this idea! Its so creative and sweet! Thank you so much for sharing it with us. Ok, so I love picmonkey but did not know that you could make your own artwork like that how did you do that?
Blessings,
Adrienne
http://www.crafteamama.blogspot.com
BTW,I am adding you to my blog list. I love all your ideas.
Blessings,
Adrienne
http://www.crafteamama.blogspot.com
Love this idea, Tonya! I even have some of those dollar store trays I used for a party I did – need to repurpose them 🙂
Absolutely loving this, just wish I had such neat scripting like you. Mine looks child like ha!
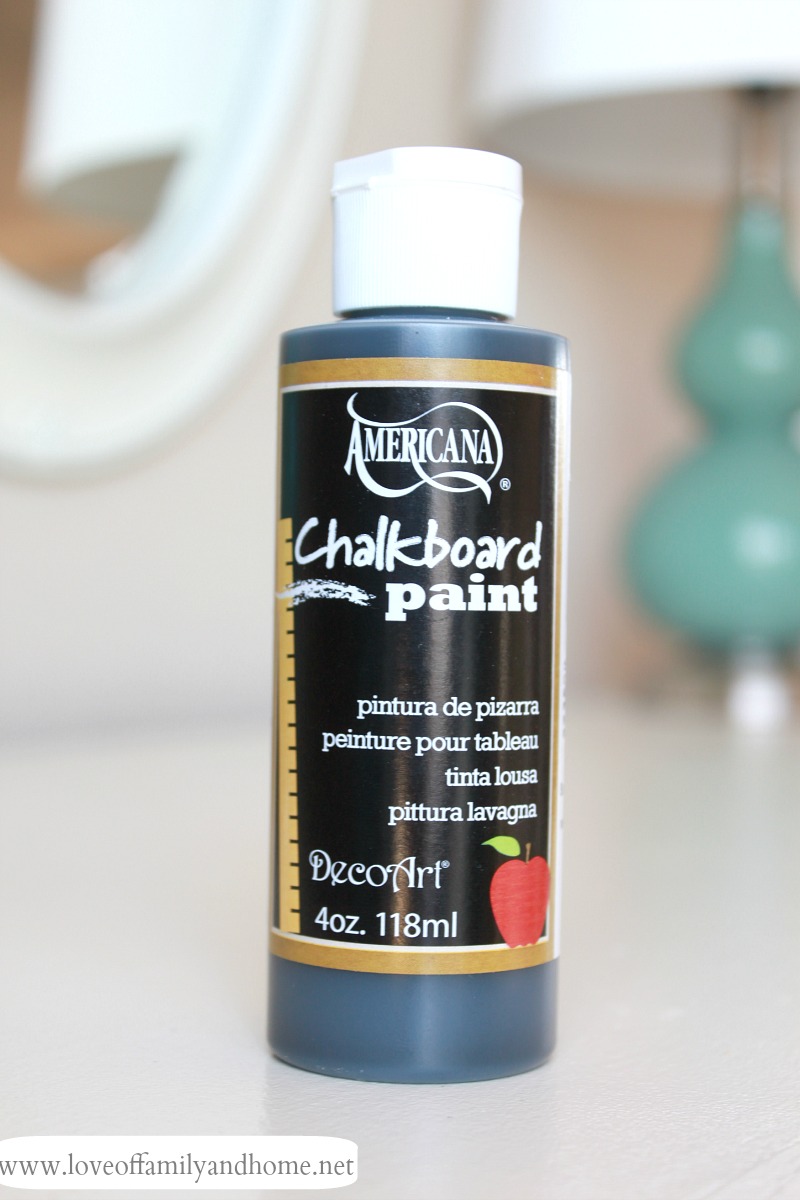
Did you do anything to the plate before you painted it with chalkboard paint? Because I have the exact same plate and chalkboard paint as in the tutorial and he paint isn’t adhering to the plate at all. It isn’t sticking even enough to call it a coat…so I’m not sure how I’m supposed to put 3 coats down. If anyone has done this and been successful please let me know!! Thanks!
How did you hang it?
With sticky tack! 🙂
Love the idea of the Dollar Store silver trays. I actually found some Christmas style fonts on my computer and traced them onto the tray as well…but instead of using chalk I used a white paint pen! Thanks for the great idea! Can’t wait to display them 🙂
Love the idea of the Dollar Store silver tray. I printed some old fashioned Christmas style fonts off of my home computer and traced it onto the tray. Instead of using chalk I used a white paint pen! Thanks for the idea!!
Tried this and tried chalk on it and the paint came off. Any idea how to stop that from happening?
It took me a while to realize that you meant “transfer paper” when you wrote “tracing paper” — those are two very different things!