Hey Everyone!
Hope you all had a fabulous weekend!
I wanted to thank you all sooo much for your sweet comments regarding my DIY Pallet Art!! It was such a fun project! If you missed it, you can check it out here.
I wanted to share with you the Father’s day gift I made for my hubby…
I know what you’re thinking….
“Gee Tonya, would have been nice to have this gift idea before Father’s Day instead of after the fact!”
I know! I’m sorry!
But my hubby reads this blog & I would have been spoiling the surprise!!
So just keep it in mind for next year!!
Actually, this project is an any time of the year project!
I am actually going to make some more for my own home!
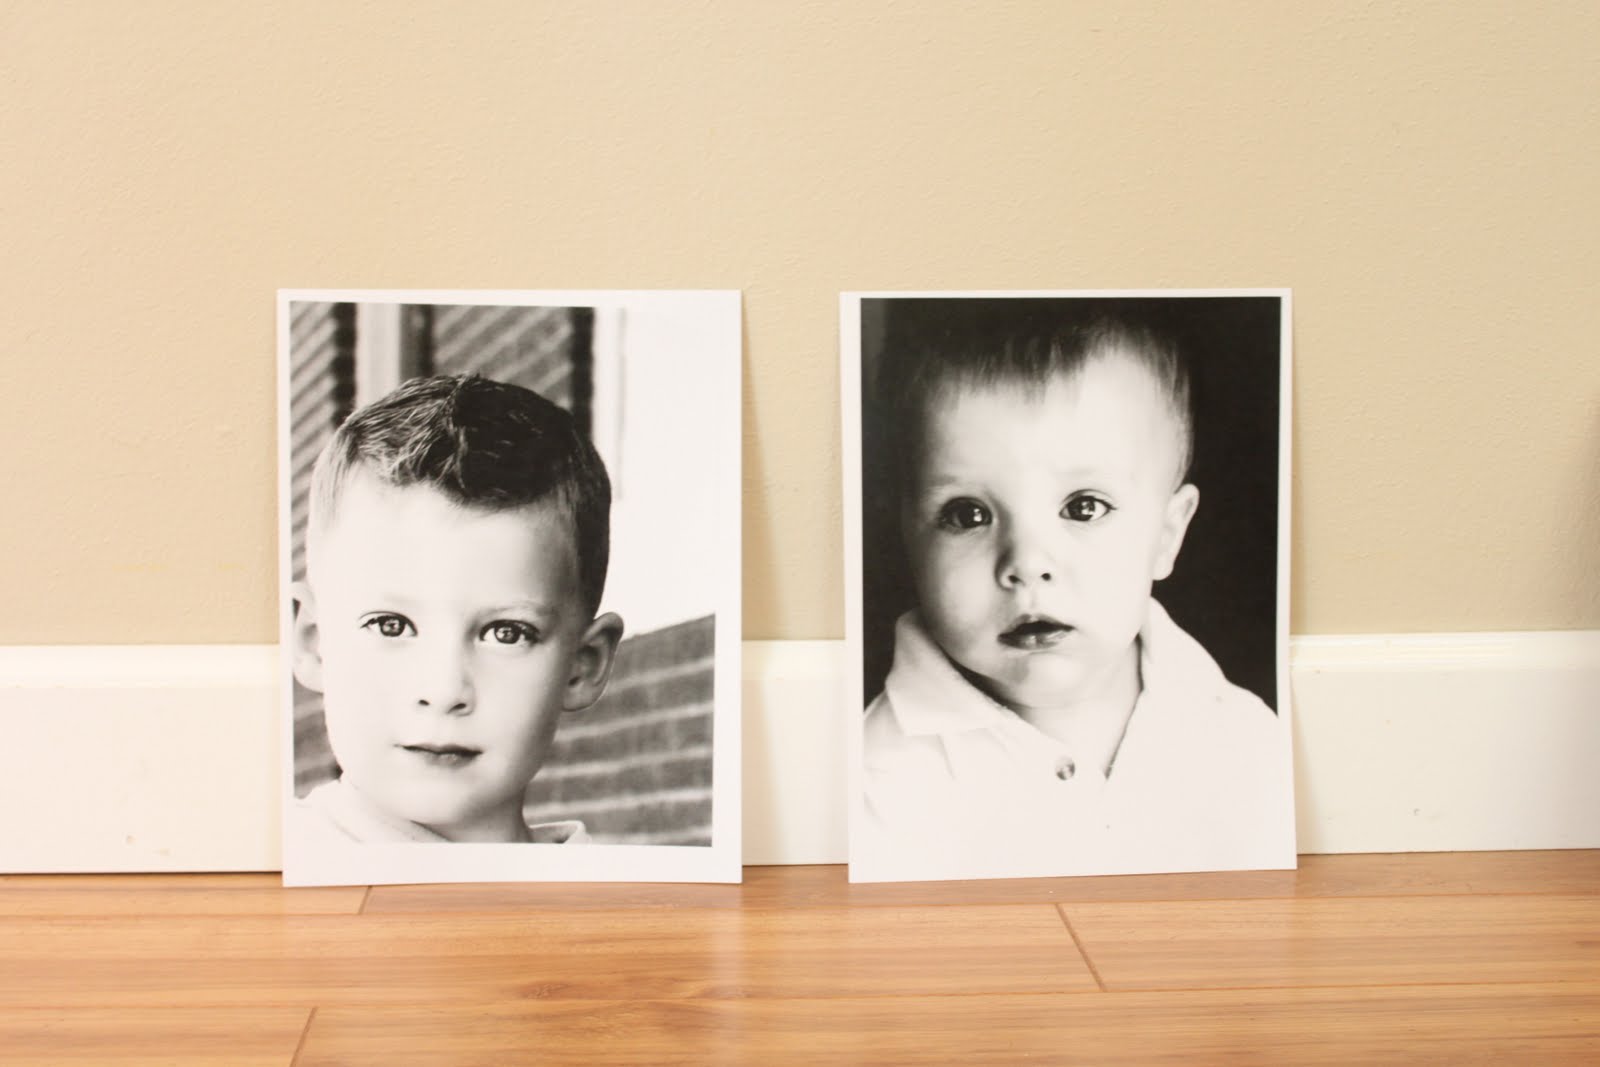
My hubs is in the process of re-doing his office at work & I thought it would be nice for him to have some new updated pics of the kiddos, especially since I have been taking sooo many with my camera lately!!

So, I picked out two of my favorites & made these!! I actually saw something similar on another blog months ago which inspired me to try some of my own!! And I just LOVE the way they turned out!!
I asked my lovely dad to help me out yet once again & build me a couple of boxes….

He just used some 1×2’s that I had laying around to construct the frame & then cut a piece of luan to fit on top of it. I wanted the frames to fit an 8×10 photo..
A few more views of the box frame to give you a better idea…


As for the pictures…I had 8×10’s made at Walmart ($2.50 a piece), but I didn’t want to mod podge the photo paper, so I then took my 8×10’s to Staples and had them color copied on cardstock. Each copy cost me 59 cents….what a deal!!
So then I just mod podged the photo to the frame….

And this is what I was left with….

I took some black craft paint to finish off the edges of the frame…
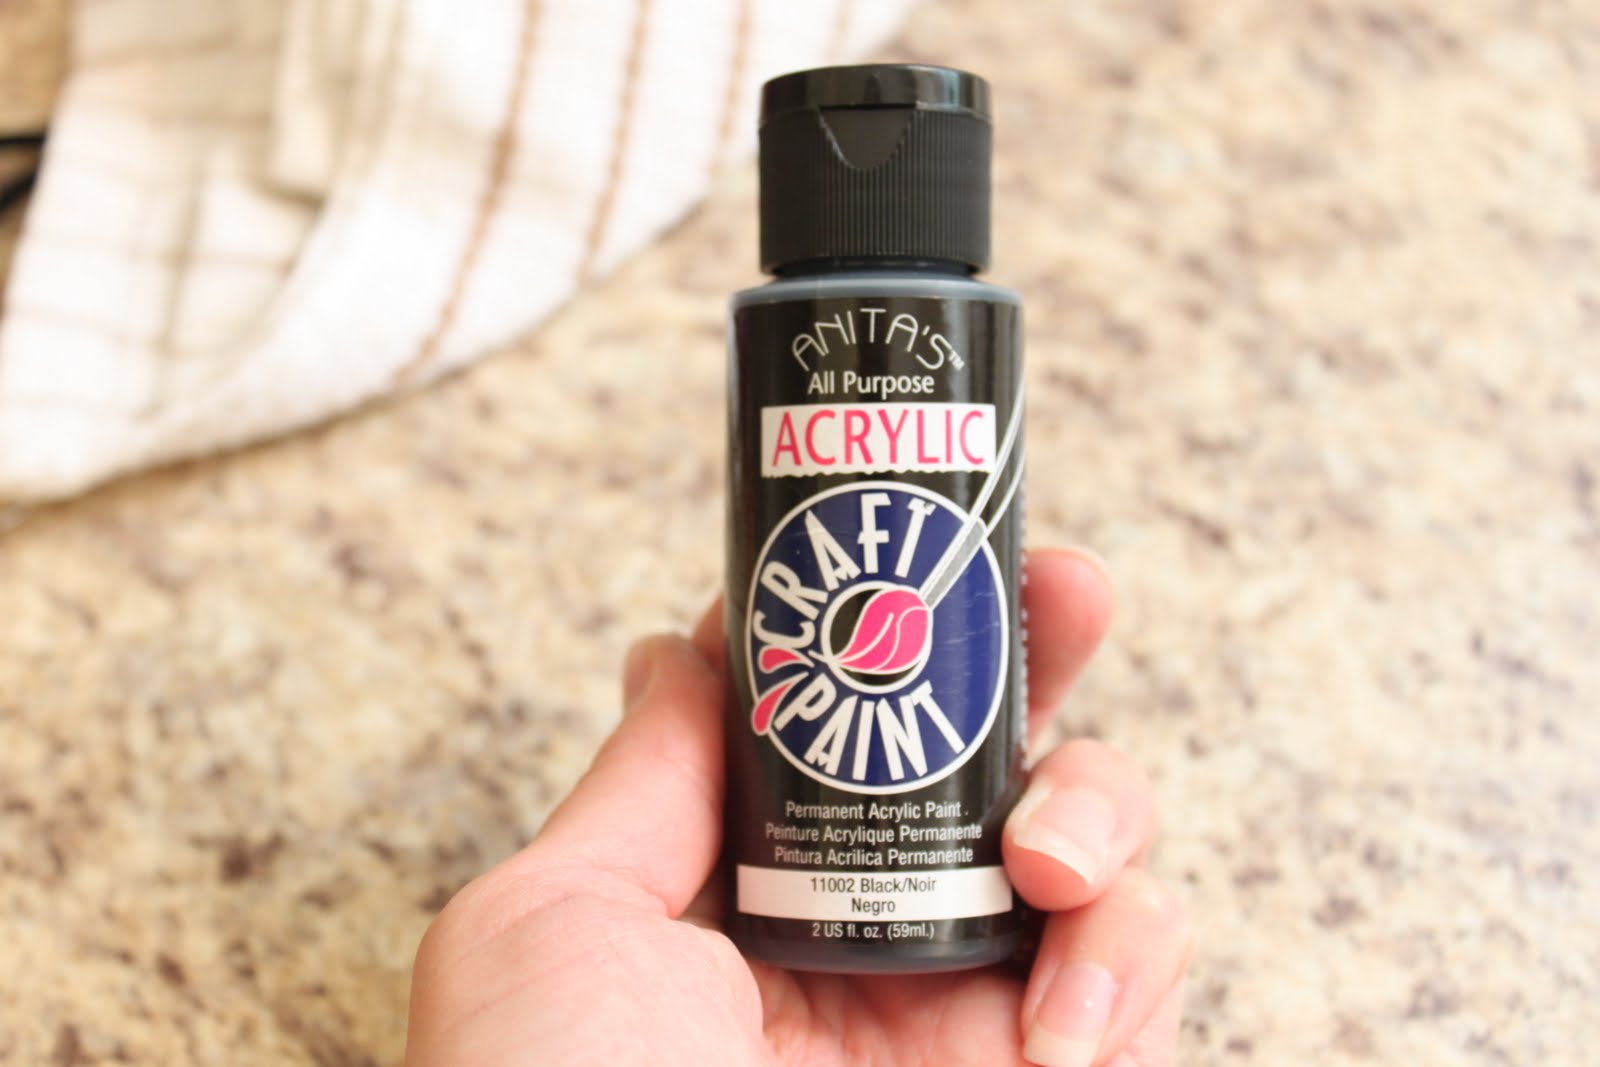
Much better!!

SWOON!!! I just love the way they turned out!!
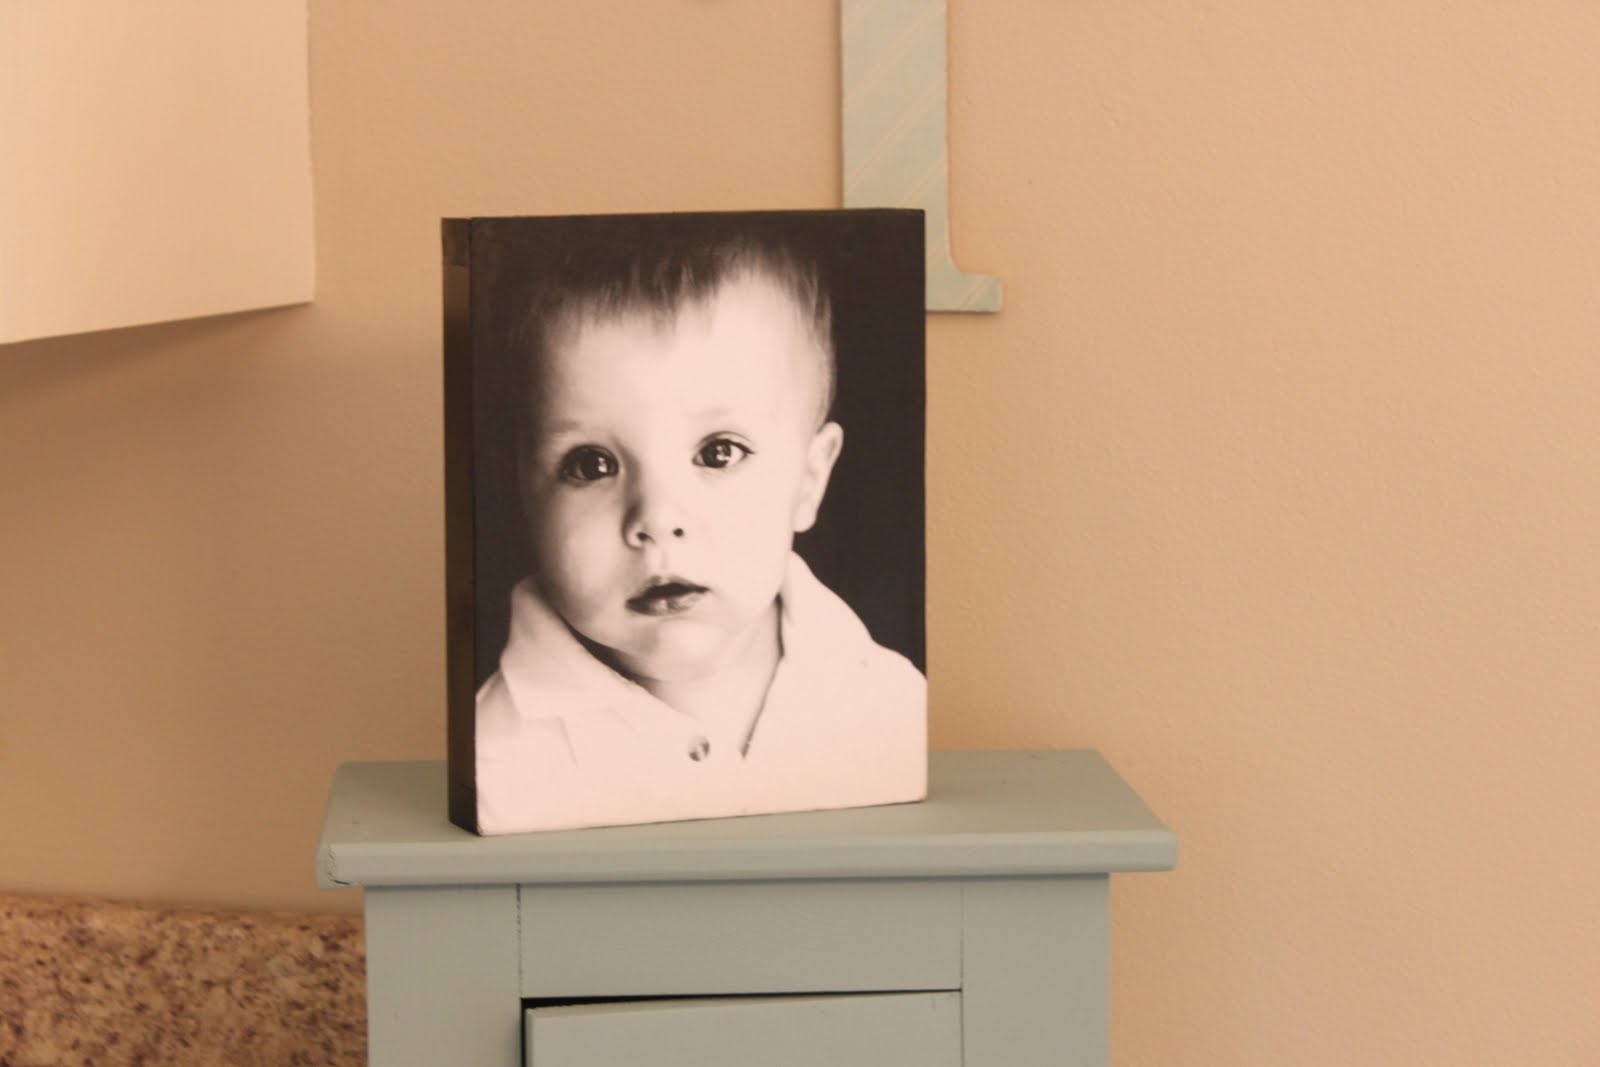
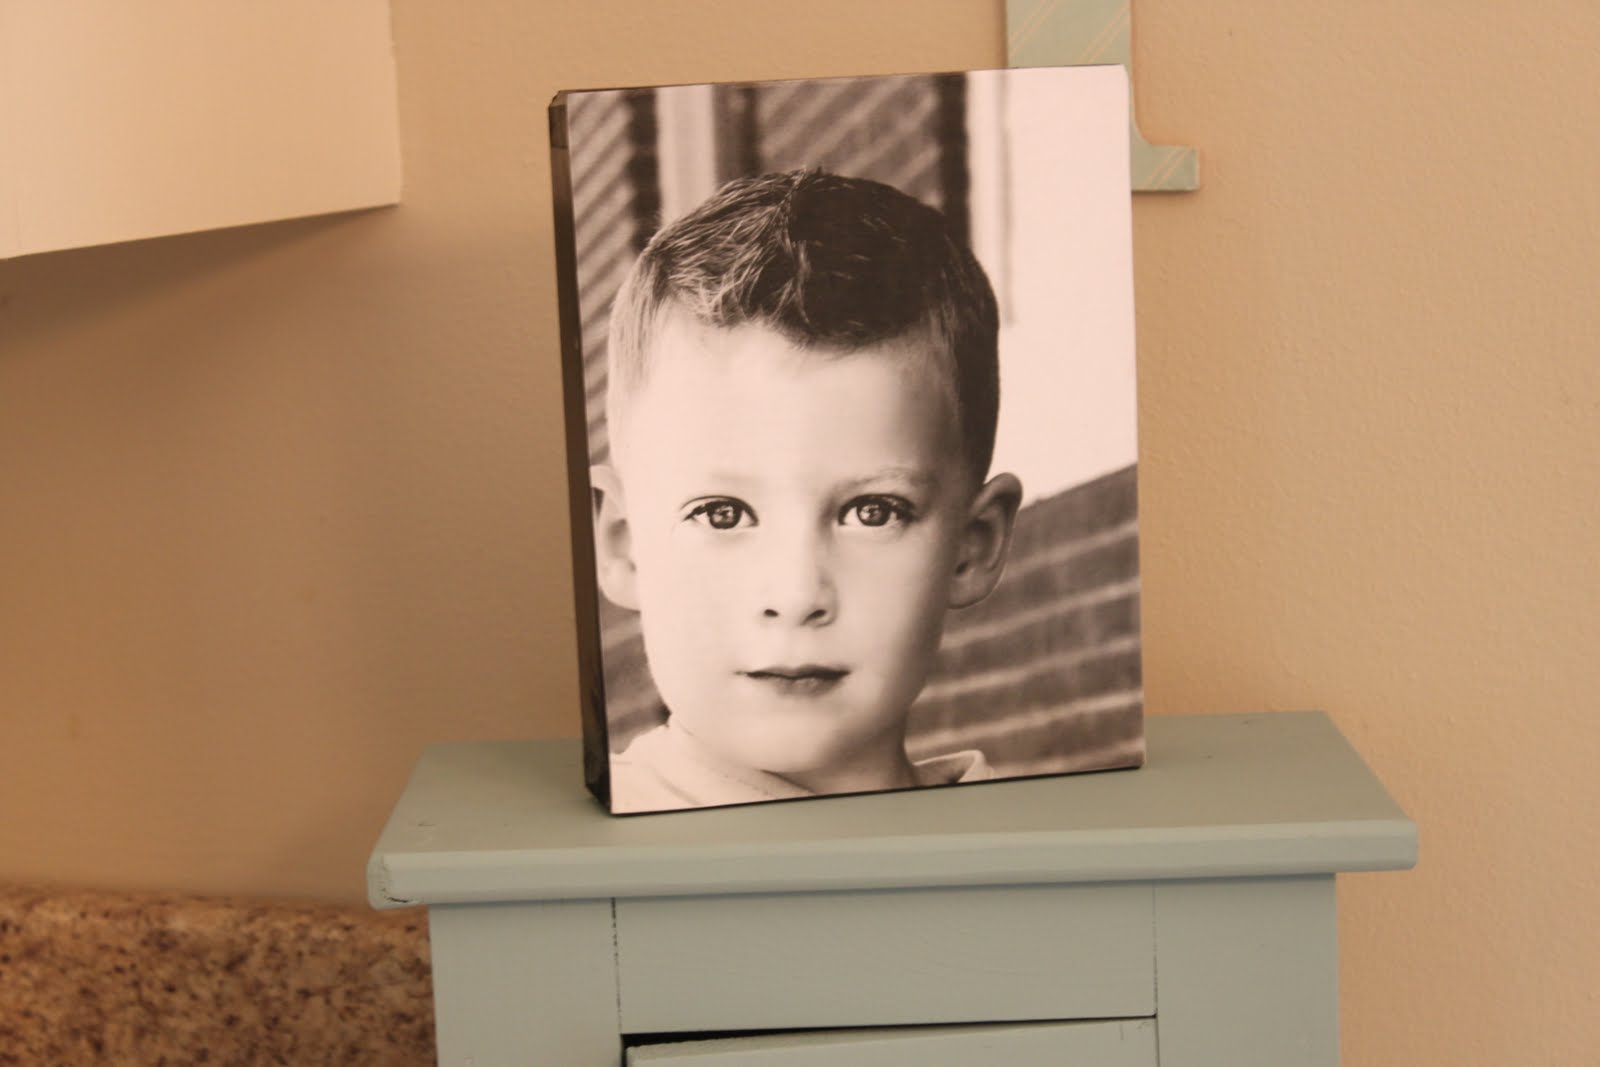
They look like canvas prints, but cost a whole lot less!!!
The frame was made out of scrap wood, so I basically only had to pay for the cost of the photo prints!
My husband loved his gift & is looking forward to displaying them in his office!

I of course told him, that he had to wait one more day so that I could take pictures of them & make a blog post! Hee hee! 🙂

Needless to say, he wasn’t the least bit shocked! 🙂
By the way…this little blog broke the 400 follower mark over the weekend!!!
Wahoo!! I’m so excited!!
Hello all of you newbies!! So glad that you have joined us!!
I’m thinking we need to celebrate this milestone with a little giveaway!!
Stay tuned…I think you will be pretty excited about what I’m going to giveaway to one lucky reader!!
Happy Monday Everyone!! 🙂
Linking up here….
Linky Party Tuesdays at Our House of Joyful Noise
Tips & Tutorials Tuesday at The Stories of A to Z
Get Your Craft On Tuesday at Today’s Creative Blog
Get Your Craft On Tuesday at Today’s Creative Blog
Flaunt it Friday at Chic on a Shoestring Decorating
Weekend Wrap-Up Party at Tatertots & Jello
Sunday Showcase Party at Under The Table & Dreaming
Don’t Miss Out-DIY projects, home decorating, crafts & more by checking out my subscribe page


So simple, inexpensive and cheap. Love!
How exactly do you mod podge the picture, explain please!
bljaz10@yahoo.com
Can you please explain how you mod podged the picture? I think these are absolutely wonderful!!! Your kids are adorable!
eber_11@yahoo.com
I think they turned out great, very professional looking. By the way, you had two great looking kids to work with. I’m going to try this with pictures of my boys as well. thanks for the info.
I tried putting a pic on a canvas and it didnt work. how did you get the paper off so nicely??
I don’t even think there was mod podge over the photo. I think the only thing she basically did as far as the mod podge goes for is basically just using it as an adhesive for the back of the stock paper photo on to the wood. And that’s was it. Just used as a paste. I’m
Sure I can use think later of hot glue, or double sided tape. Stuff u might have around the house as an adhesive. And she just painted around it. It can be way simpiler and even cheaper useing a different way to basically adhere the photo to wood. Just an FYI
I used the mod podge was used to adhere the photo to the wood box. I brushed a layer onto the box & then placed the photo on top. Smooth out the photo so that they aren’t any air bubbles between the photo & the wood. Then when they mod podge is dry. Brush a couple more layers of mod podge ON TOP of the photo as well.
can u use regular photo prints as well?
Sorry, but what is “color copied on cardstock” ?
I’ve seen a lot of these on Pinterest and I want to try it so bad but no one ever says which mod podge they use!! And there are so many different Types. Which one did you use?? Please let me know!
Hi Elizabeth!
I just used the Mod Podge brand in the matte finish.
A friend of mine did this about a while back and I loved the look. I. Am now going to use it myself!
did you put picture up or down and did you have to pull any paper off? did the picture just appear? I want to use this
for an anniversary gift-want to try this week-end.