I wanted to share with you my most recent project!!
I am sooo happy with how these hooks turned out for
Parker’s Room!
I have been wanting something to put on this small area when you first walk into his room forever! Now that he is in school (pre-k) and we have backpacks & things to put away….he needed a place to hang them!

I started this project with some sports inspired scrapbook paper which just so happen to coordinate with the colors of his bedroom really well! I actually bought this paper a long time ago, but just haven’t had the time to do anything with it!

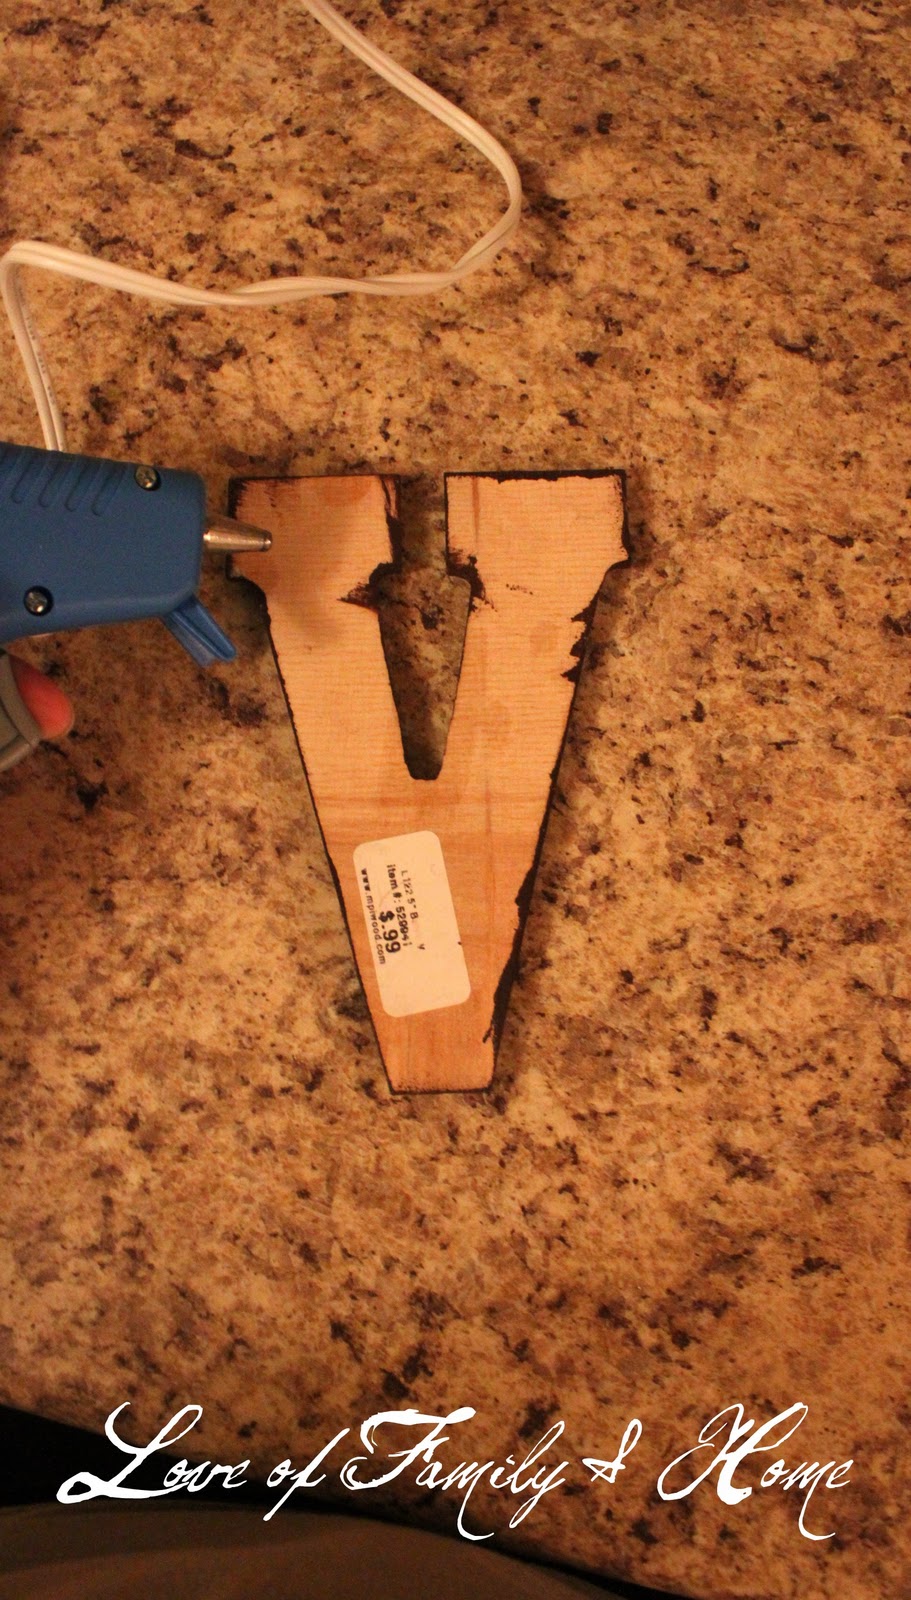
I also bought these wooden letters at Hobby Lobby for 99 cents a piece.

Then I bought these plaques at Hobby Lobby for $1.99 a piece to mount the letters & hooks on…

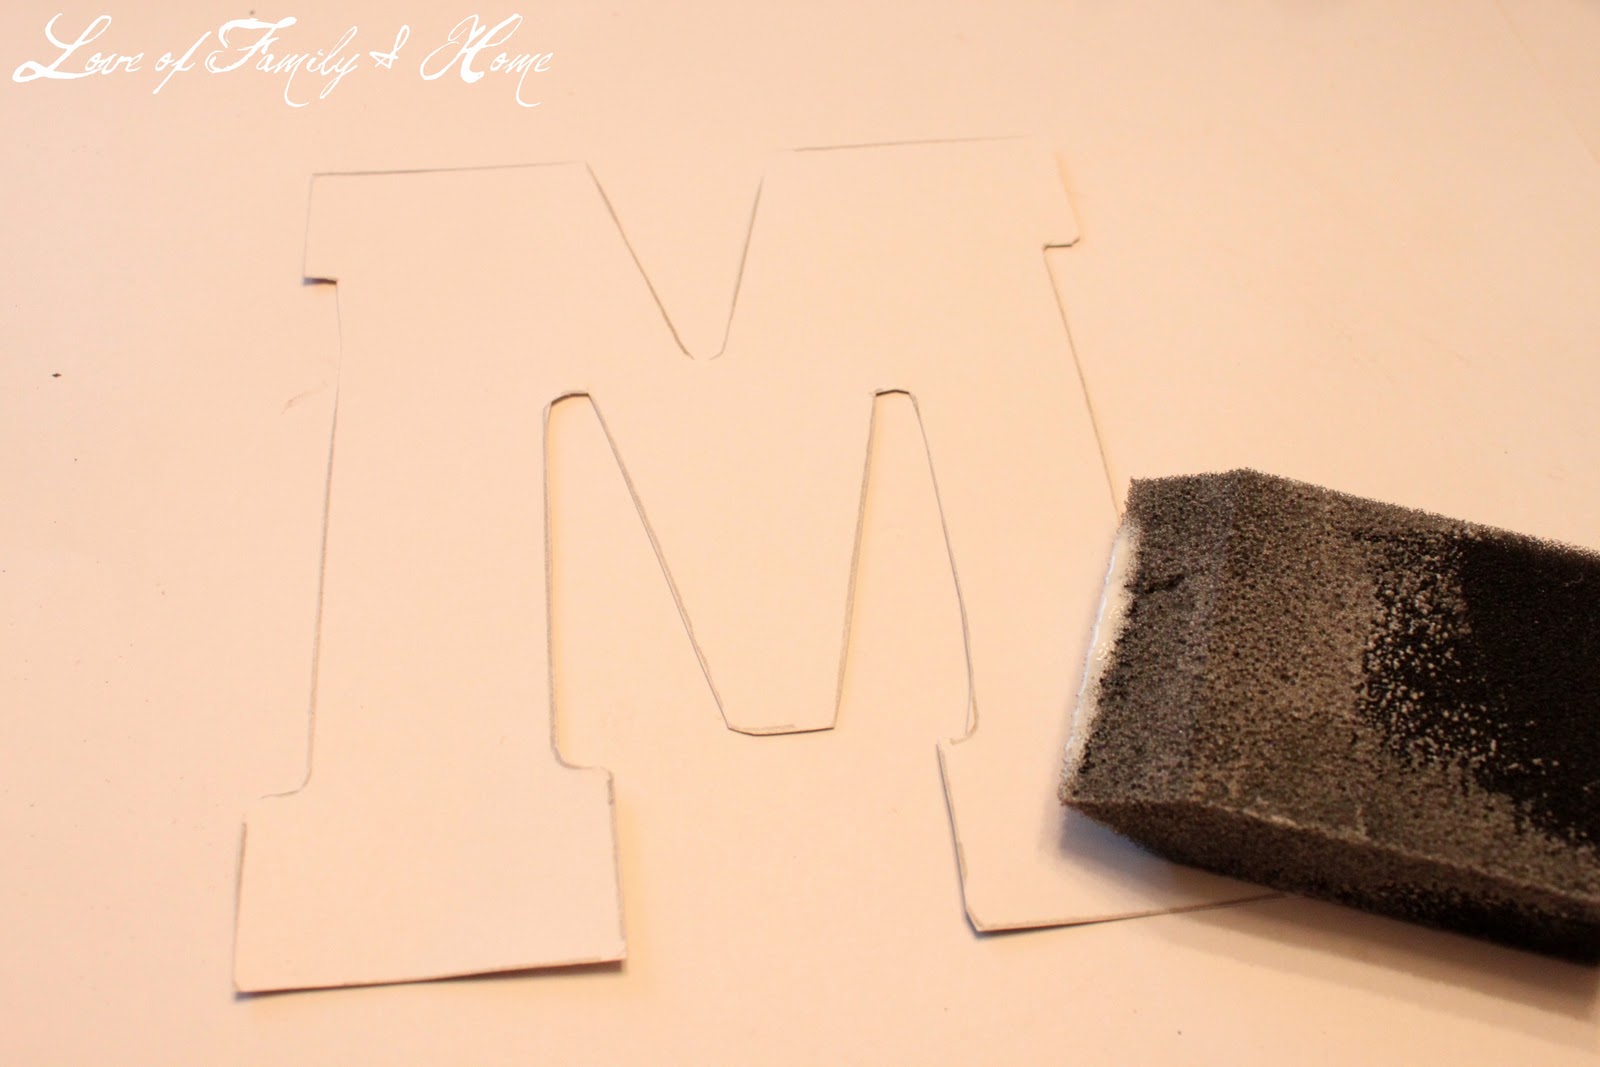
After I chose the papers that I wanted to use, I began tracing out my letters…
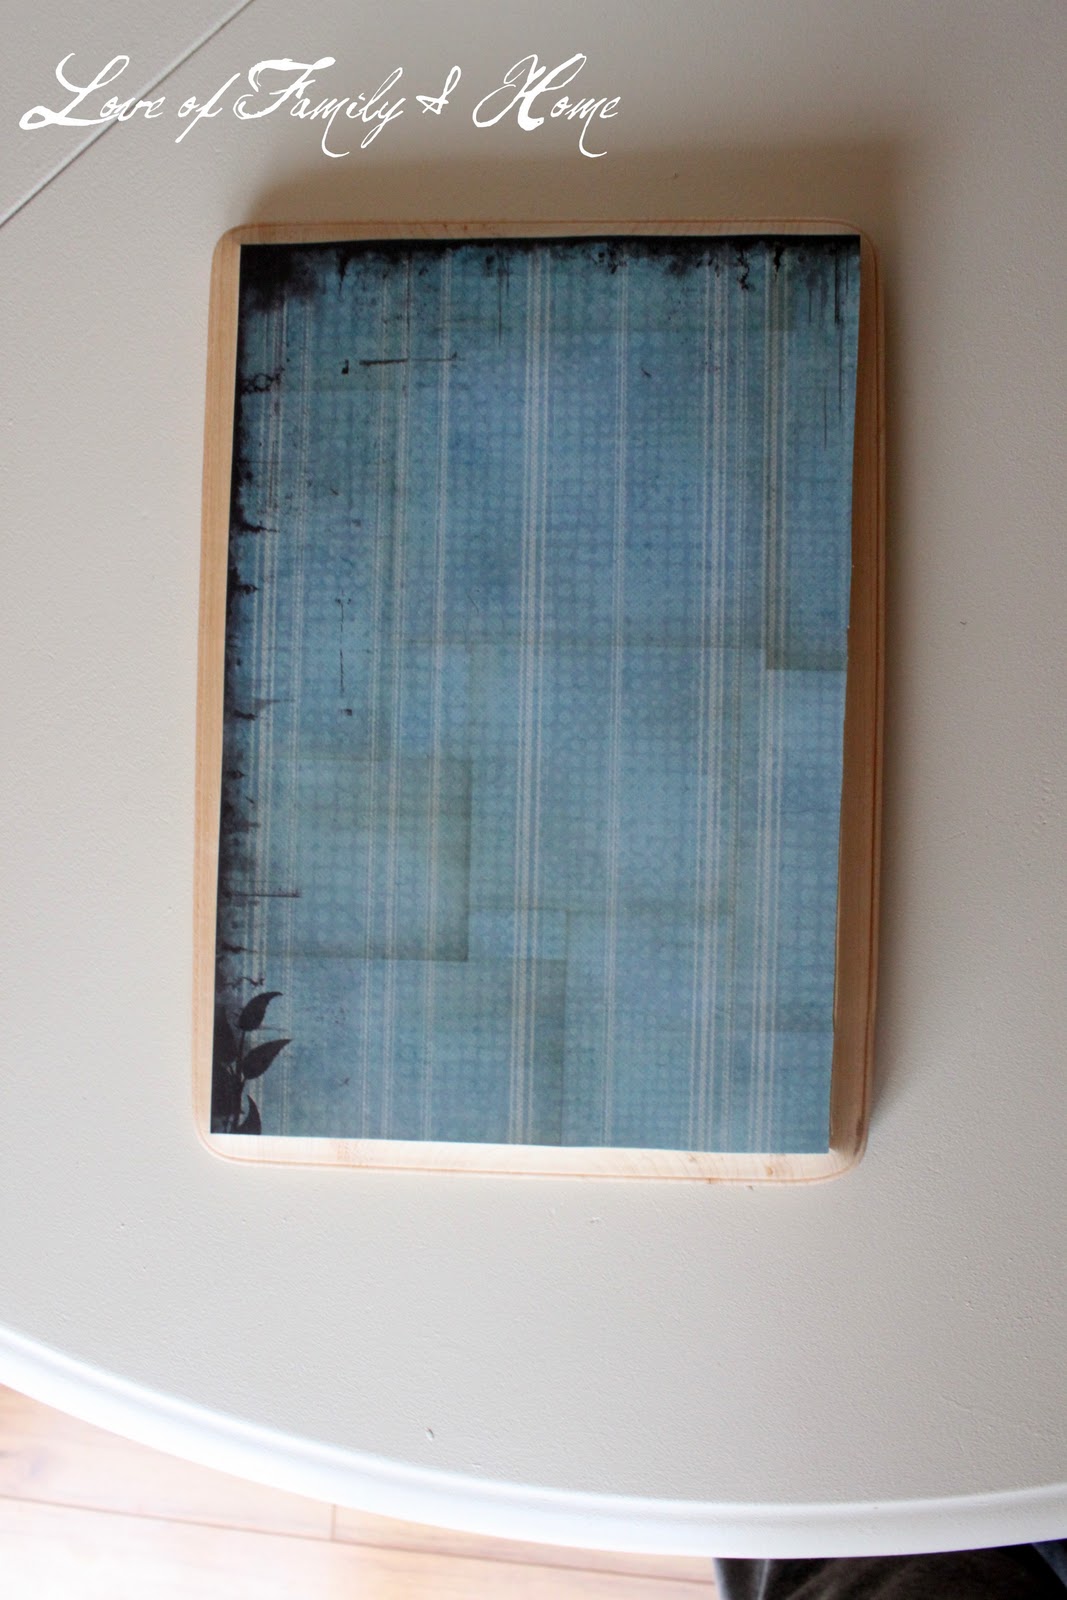
I also used the paper to cover the surface of the plaques, so again I traced the paper & cut it to fit them as well…

Because the outer edges of the plaques & letters were still going to be showing, I painted them a neutral chocolate brown color with craft paint.

I used Mod Podge to decoupage the scrapbook paper to the wooden letters & plaques.
If you have never used Mod Podge or any other decoupaging medium before, its super easy!
I’m not going to attempt to explain each step of the decoupaging process, because I’m afraid I am going to do nothing but confuse you!! Instead I am going to refer you to an awesome blog which is strictly dedicated to Mod Podge!!
If you are thinking about trying Mod Podge for the first time or getting ready to start a new decoupaging project you should visit Amy at Mod Podge Rocks! She has awesome how-to videos & tips on using Mod Podge!! If you have any questions at all…I promise you, this girl has the answer!!
After the decoupaging was done..
I then attached the hardware to the back of the plaques for hanging…

I used hot glue to secure the letters to the plaques…
I also used hot glue to attach the hooks temporarily…I didn’t have the right size screws to attach them properly, so the hot glue is holding them in place for now! I will be going back & adding screws to make sure that they stay on! I think the hot glue will hold anything lightweight, but if Parker decides to hang something heavy, I’m afraid they will fall right off!!
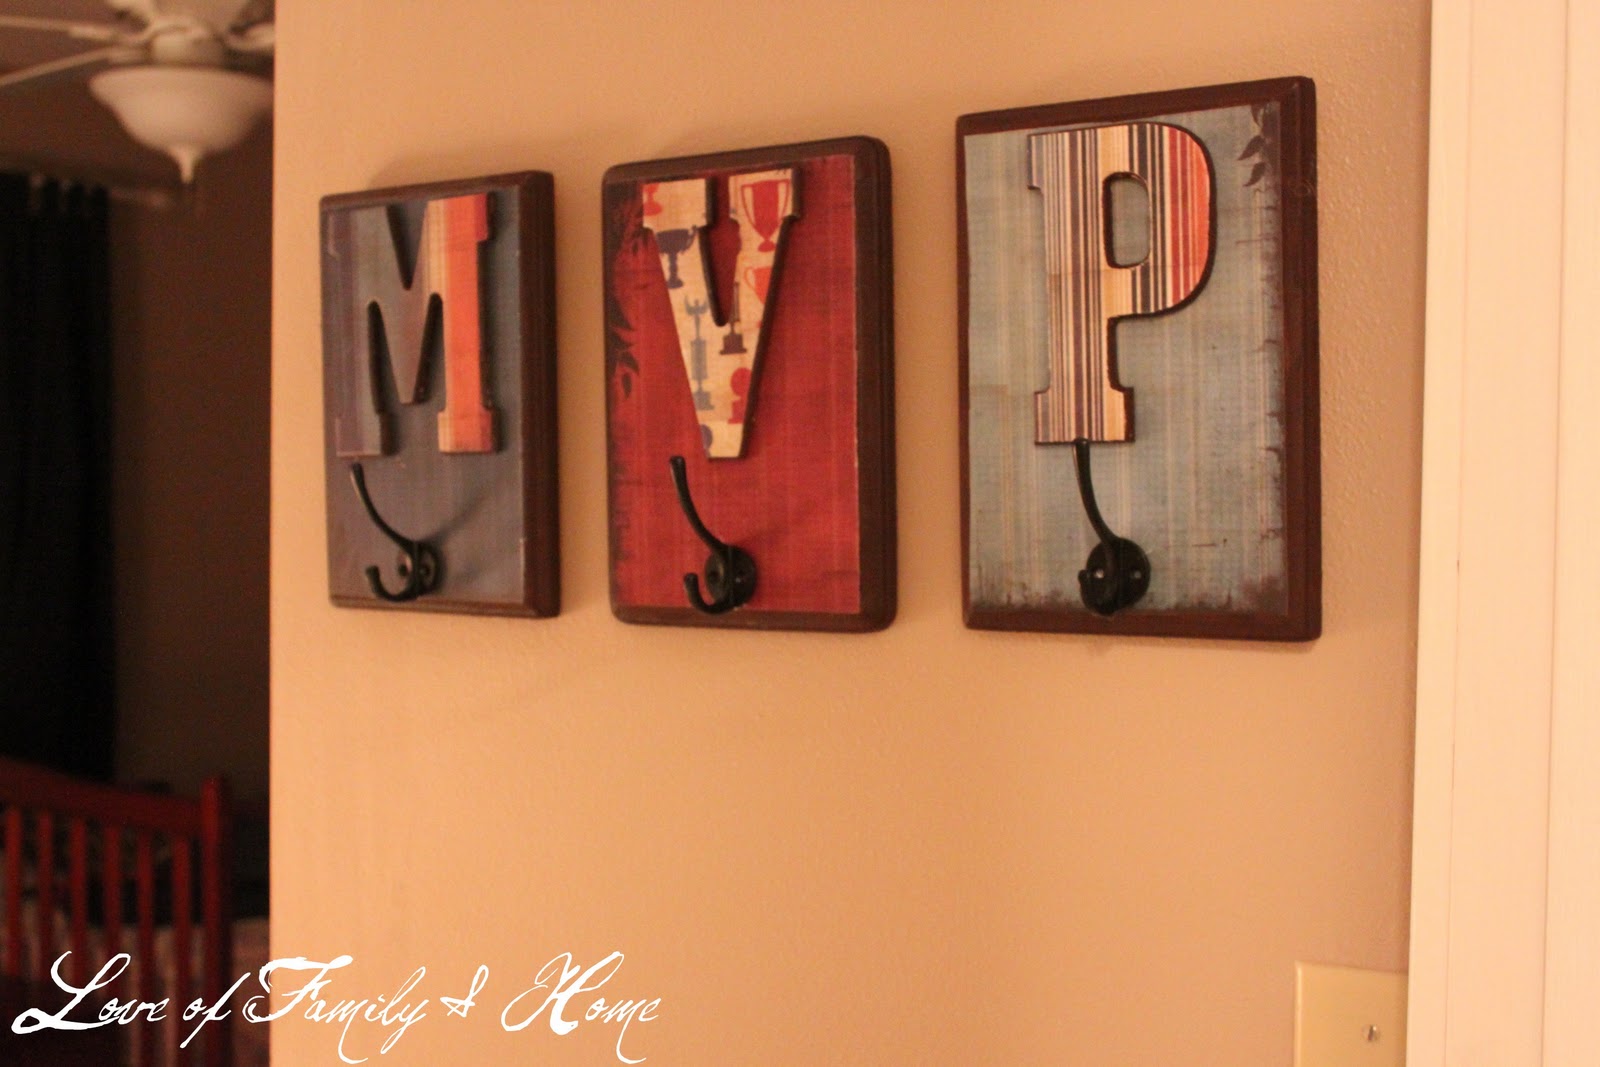
So…here is the finished product!

LOVE it!!

These hooks added the perfect touch to this small area & also have a functional purpose in this space!
Had to take a couple shots with his coat & hat hanging just for fun!!


Hope you enjoyed this project!!
I’m linking up at these fabulous sites…


20 Below Thursdays at Christina’s Adventures
Delightfully Inspiring Thursday at Delightful Order
Frugal Friday at The Shabby Nest
Feature Yourself Friday at Fingerprints on the Fridge
Weekend Wrap-Up Party at Tatertots & Jello
Sunday Showcase Party at Under The Table & Dreaming
Amaze Me Monday at Dittle Dattle
Motivate Me Monday at Keeping It Simple
Show & Tell Wednesday at Blue Cricket Design
Spring Fling Party at This Blessed Nest
Whatever Goes Wednesday at Someday Crafts


